Did you buy a massage chair but feel like putting it together is too hard? Don’t worry! This guide will make assembling your massage chair easy and fun. You’ll get clear instructions and tips to help you relax in your new chair quickly.
Before starting, know that most massage chairs come in several boxes. This keeps the chair safe during shipping, makes it easier to move, and saves you money. When building your massage chair, look for an installation video for your model. Brands like Osaki, Titan, Infinity, Cozzia, Kyoto, Slabway, and Human Touch offer great resources to help you install your chair.
Key Takeaways
- Massage chairs often arrive in multiple boxes for protection and easier handling
- Refer to installation videos specific to your massage chair model for guidance
- Major massage chair brands provide helpful assembly resources
- Follow step-by-step instructions for a smooth and stress-free assembly process
- Proper assembly ensures optimal performance and longevity of your massage chair
Importance of Proper Massage Chair Assembly
When you buy a high-quality massage chair, making sure it’s put together right is key. Here’s why proper assembly matters:
- It makes sure the chair works as it should, giving you the relief you need.
- It keeps you safe by avoiding accidents or injuries from wrong assembly.
- It helps your chair last longer by preventing damage to parts.
Putting together a massage chair might look hard, but it’s easier with the right help and tools. Many brands offer clear instructions and videos to guide you. It’s important to read these carefully and take your time to connect and secure each part right.
If you’re not sure you can do it or don’t have the time, think about getting a professional to do it. These experts know how to put different massage chairs together and make sure it’s done right.
| Benefits of Proper Massage Chair Assembly | Risks of Improper Massage Chair Assembly |
|---|---|
| Optimal chair performance and therapeutic benefits | Reduced massage effectiveness and comfort |
| Enhanced user safety and prevention of accidents | Increased risk of injury due to malfunctioning parts |
| Prolonged chair lifespan and reduced wear and tear | Potential damage to chair components and shortened lifespan |
| Compliance with manufacturer’s warranty terms | Voiding of warranty due to improper assembly |
In short, taking the time to assemble your massage chair right or getting a pro to do it is a smart move. It’s an investment in your health, safety, and the life of your chair. Don’t risk messing up your massage or hurting your chair by rushing the setup.
Preparing for Massage Chair Assembly
Before you start putting together your massage chair, make sure you’re ready for a smooth setup. A little preparation can save you time and stress later.
Choosing the Right Location
When picking a spot for your massage chair, think about these things:
- Enough space around the chair for easy access and reclining
- A flat and stable floor for balance
- Being close to a power outlet for easy plug-in
- A quiet spot for the best relaxation

After picking the best spot, clean the area of any clutter. This makes sure you have a clear and organized space to work.
Gathering Necessary Tools and Materials
Have all the tools and materials ready before starting. Most chairs come with a manual and an assembly kit. This kit has what you need.
| Tools | Materials |
|---|---|
| Screwdriver (usually Phillips head) | Bolts and screws |
| Wrench or hex key | Washers |
| Pliers | Safety clips |
| Scissors or utility knife (for unpacking) | Plastic or metal connectors |
Some chairs might need special tools. Look at the parts and hardware before you start. Many brands offer massage chair assembly videos to help you.
Pro tip: Keep all the parts and tools in one place to avoid losing anything during assembly.
Choosing the right spot and getting all your tools ready will make assembling your massage chair easier and more efficient.
Unboxing and Identifying Massage Chair Components
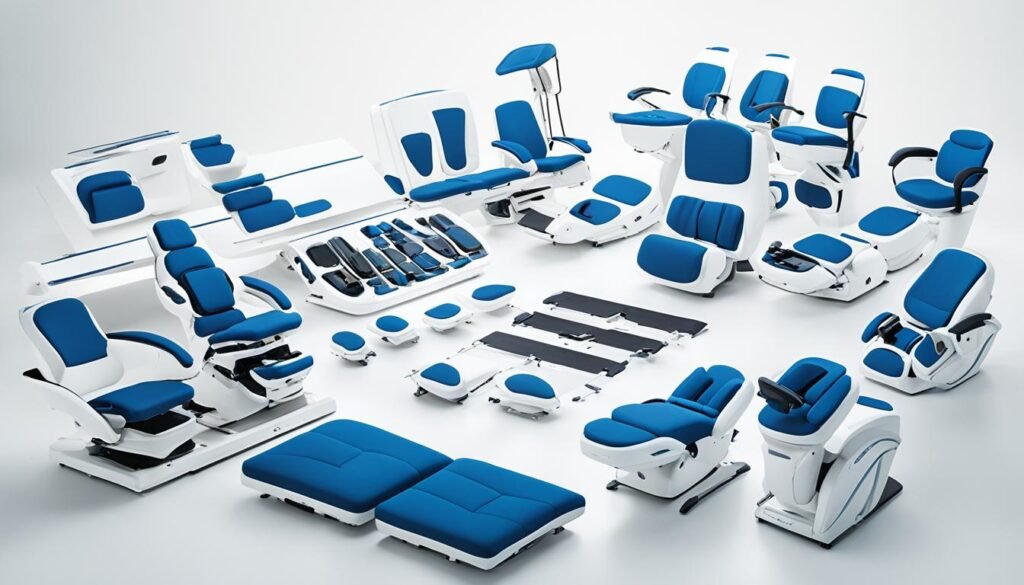
Starting to assemble massage chair parts begins with unboxing your chair and checking all the parts. Make sure you have everything before you start. Use your massage chair construction manual for a list of parts for your model.
- Massage chair base
- Backrest
- Armrests
- Footrest
- Remote control
- Power supply cord
Get to know each part and where it goes on the chair. This makes putting it together easier. Your massage chair construction manual has pictures or illustrations to help you.
“Proper identification and organization of massage chair components is the foundation for a successful assembly process.” – Mary Thompson, Massage Chair Expert
Make a checklist to keep track of parts and check for missing ones. Here’s a sample checklist:
| Component | Quantity | Checked |
|---|---|---|
| Massage chair base | 1 | ☐ |
| Backrest | 1 | ☐ |
| Armrests | 2 | ☐ |
| Footrest | 1 | ☐ |
| Remote control | 1 | ☐ |
| Power supply cord | 1 | ☐ |
Properly unboxing and identifying parts sets you up for success in assembling your massage chair parts. Always check your massage chair construction manual for specific instructions.
Attaching the Backrest to the Seat
Now, it’s time to start putting your massage chair together. First, attach the backrest to the seat. This step is key for stability and safety.
Before starting, get to know the backrest and seat parts. Check for labels or markings that show how they fit together. Some chairs have instructions or diagrams to help you.
Aligning the Backrest
Start by placing the backrest right behind the seat. The backrest’s bottom should match the seat’s top. Use markers or guides if your chair has them to keep it straight and centered.
With the backrest in the right spot, it’s time to secure it. Your chair might use bolts, screws, or a special lock.
Securing the Backrest with Bolts or Locking Mechanism
If your chair uses bolts, find the holes on the backrest and seat. Line them up and put the bolts through. Then, tighten them with a wrench, but don’t overtighten.
Some chairs have a lock instead of bolts. Slide the backrest into its slots on the seat. Then, use a button, lever, or knob to lock it in place. Make sure it’s stable and doesn’t move.
Take your time to ensure the backrest is correctly aligned and locked. A secure backrest is crucial for your chair’s stability and use.
Tip: If you’re having trouble with the backrest or parts, check the manual or call the manufacturer. Don’t force parts together to avoid damage.
Installing the Armrests
Now that the backrest and seat are connected, it’s time for the armrests. They add support and comfort for your arms during a massage. They also have parts for giving targeted massage therapy to your shoulders, arms, and hands.

Connecting Armrest Wiring and Air Hoses
Before attaching the armrests, connect the wiring harnesses and air hoses. These parts power the massage functions in the armrests, like:
- Shoulder massage
- Upper arm kneading
- Forearm rolling
- Hand and palm compression
Find the ports on the chair base and the armrests. Connect the wiring harnesses and air hoses carefully, making sure they fit well. Check each connection to prevent malfunctions or leaks.
Securing Armrests to the Chair Frame
After setting up the electrical and pneumatic parts, attach the armrests to the chair frame. Most chairs have bolts or a locking mechanism for this. Here’s how to attach them securely:
- Line up the armrests with the chair’s mounting points.
- Use the bolts or locking mechanism as your chair’s manual says.
- Tighten the bolts with the right tools, like a wrench or Allen key. Don’t overtighten to avoid damage.
- Push and pull the armrests to check they’re stable and don’t move.
Tip: Some high-end massage chairs come with armrests already attached. If so, just connect the wiring and air hoses.
Connecting the armrest wiring and securing the armrests well ensures they work great. This means you’ll get a smooth massage for your upper body.
Connecting the Footrest
Now that the backrest and armrests are set, it’s time for the footrest. This step is key for a full-body massage from head to toe. Though it might seem hard, installing the massage chair leg rest is easier with patience and focus.
Attaching the Footrest to the Chair Base
Start by making sure your massage chair is upright. This makes it easier to reach the connection spots. Look for hooks or latches on the base and the footrest’s connectors. Your chair might have either a hook and slide or latch and bolt setup.
- Hook and Slide: Lift the footrest and slide the connectors onto the chair’s hooks. You should feel them securely click into place.
- Latch and Bolt: Place the footrest onto the latches on the chair base. Align the bolt holes and prepare to secure the connection.
Securing the Footrest with Safety Clips or Bolts
After attaching the footrest, make sure it’s secure for safety and stability. The method depends on your chair model:
- For hook and slide connections, use the safety clips or D-clips provided. Slide these clips into place to lock the footrest connectors onto the hooks, preventing accidental disconnection.
- For latch and bolt connections, use the provided bolts to secure the footrest to the chair base. Tighten the bolts using the appropriate tool, such as a hex key or wrench, ensuring a snug and wobble-free fit.
Pro Tip: If your massage chair has a leather cover for the footrest connection, don’t forget to zip it up after securing the footrest. This will give your chair a polished, seamless appearance.
With the footrest securely attached and locked in place, you’re almost ready for a massage. Double-check all connections to make sure the footrest is stable and ready for your legs and feet during massages.
| Connection Type | Attachment Method | Securing Mechanism |
|---|---|---|
| Hook and Slide | Slide connectors onto hooks | Safety clips or D-clips |
| Latch and Bolt | Place footrest onto latches | Bolts tightened with tools |
Next, we’ll show you how to connect the power supply and test your chair. This ensures everything works smoothly.
How to Assemble Massage Chair: Plugging in and Testing
Now that your massage chair is put together, it’s time to turn it on and check everything works right. This step is key to setting up your chair. It means connecting the power and doing a first test to spot any problems.

Connecting the Power Supply
Find the power cord that came with your chair and plug it into the chair’s base. Make sure it’s plugged in well. Then, plug the other end into a grounded outlet. After that, turn on the power switch at the chair’s back to power your chair.
Performing Initial Test Run and Troubleshooting
With power on, your chair might stand up by itself. If not, use the remote to set it right. Now, test your chair’s features:
- Use the manual to learn how to use the remote and try different massage programs.
- Begin with a light massage setting to check everything’s working and get used to the controls.
- Try different massage types, strengths, and areas to make sure everything’s right.
- Check out extra features like heat, air compression, or stretching, if your chair has them.
If you run into problems, look at the troubleshooting guide in your manual. You might see issues like:
| Problem | Possible Solution |
|---|---|
| Chair not powering on | Check the power cord and make sure the outlet works. |
| Massage functions not working | Make sure all connections are tight and right. |
| Unusual noises during operation | Check that everything is installed and tightened right. |
| Remote control not responding | Check the batteries and replace them if needed. |
Remember, taking your time to test your chair and fix any issues early can prevent future problems. This ensures a smooth, relaxing massage experience.
By connecting the power right and doing a full test, you’re ready to enjoy your new massage chair.
Fine-tuning and Customizing Your Massage Chair
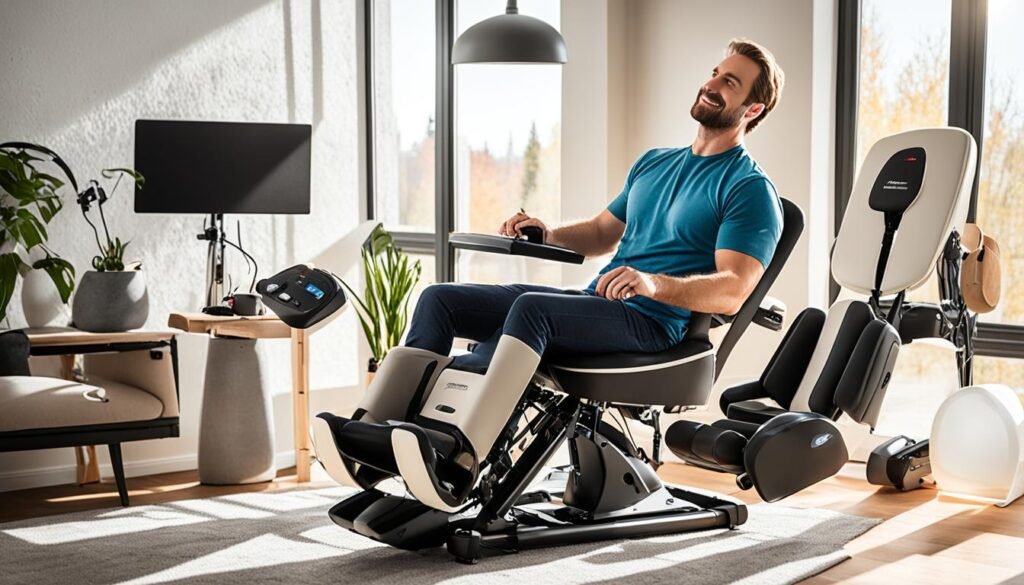
Now that your massage chair is set up and ready, it’s time to make it your own. Adjusting your chair’s settings lets you create a massage that fits your needs perfectly. With many features to play with, you can turn your chair into a place where you can relax fully.
Adjusting Massage Intensity and Settings
Customizing your massage chair means finding the right intensity for you. Do you like a light touch or something stronger? You can change the pressure to fit what you want. Try different levels for different massage types, like kneading or rolling, to find what feels best.
You can also focus on specific body parts with your chair’s settings. This way, you can ease tension in your neck, shoulders, back, or legs. Some chairs even let you save your favorite settings, so getting your perfect massage is easy.
Personalizing Comfort Features
Modern massage chairs have many features to make your experience better. These include:
- Adjustable air pressure: Choose how much the air compresses for a gentle or firm massage.
- Heat therapy: Enjoy warm heat on your body to help blood flow and relax muscles.
- Zero gravity positioning: Feel like you’re floating as your chair tilts to spread out your weight evenly, easing back pain.
- Foot and calf massage: Give your feet and calves a massage with rolling and kneading actions.
Take the time to explore and personalize these comfort features, as they can significantly elevate your massage chair experience and help you unwind after a long day.
Remember, making your massage chair just right is a process. As your body changes, adjust your chair to keep getting the massage you need. With some trying and tweaking, your massage chair will be key to relaxing and taking care of yourself.
Conclusion
With this detailed guide and your chair’s assembly instructions, you should now have a fully set up massage chair. Assembling a massage chair needs patience, focus, and following the maker’s advice. Take your time, check each connection, and test the chair’s features before first use.
Keeping your massage chair in good shape is key for its long life and best performance. This means cleaning the upholstery, checking for wear and tear, and fixing any problems quickly. Taking care of your chair lets you enjoy its health benefits and relaxation for many years.
After setting up your chair, it’s time to relax and enjoy its comfort and rejuvenation. Adjust the settings to what you like, try different massage types, and let the chair ease your tired muscles. If you have questions or problems, contact the manufacturer’s customer support. Enjoy your new massage chair and how it can better your health!
FAQ
Why do massage chairs arrive in multiple boxes?
Is it important to follow the manufacturer’s instructions when assembling a massage chair?
What should I consider when choosing a location for my massage chair?
What tools and materials might I need to assemble my massage chair?
What are the typical components of a massage chair?
How do I connect the armrests to the massage chair?
What should I do after assembling my massage chair?
How can I ensure the longevity and performance of my massage chair?
Source Links
- Massage Chair Assembly Tutorial Videos – https://infinitymassagechairs.com/assembly-tutorials
- How to Easily Assemble a Massage Chair – https://titanchair.com/blogs/news/how-to-easily-assemble-a-massage-chair
- Would this be comfortable to sit in when it’s not – Q&A – Best Buy – https://www.bestbuy.com/site/questions/insignia-2d-zero-gravity-full-body-massage-chair-black-with-silver-trim/6405497/question/8ee1ca82-30be-3fe0-b3e1-3c2a17274d41


11 Comments
Is it just me or does anyone else find the idea of assembling a massage chair oddly satisfying? Like a DIY project for relaxation! Who knew choosing the right location could be so crucial for a good massage experience!
I cant believe they didnt mention the importance of Feng Shui when choosing the right location for your massage chair! Energy flow is crucial for a truly relaxing experience. Thoughts?
Can we debate the right location? I feel the study might be a better option than the living room.
Why not include a section on troubleshooting common assembly issues? It would be a great addition to the guide.
While I appreciate the guide, I cant help but wonder, why arent these massage chairs pre-assembled? Considering their cost, its a bit of a cheek expecting us to turn into DIY experts!
Interesting read, but isnt it ironic that assembling a massage chair can cause the very stress and back pain its supposed to alleviate? Maybe a pre-assembled chair delivery option, anyone?
While the article offers excellent tips for assembly, I cant help but wonder why we just dont pay extra for professional assembly? Isnt it better to ensure everythings done right? Just a thought.
Does anyone else think that the assembly part is half the fun? Its like a relaxing puzzle before the actual relaxation.
Does anyone think assembly steps might differ between brands? My chairs instruction manual seems a bit off.
Anyone else reckon that the location choice is way more crucial than the actual assembly? Its all about the ambiance, people!
While ambiance matters, the assembly is the soul of the event. Dont undervalue it!