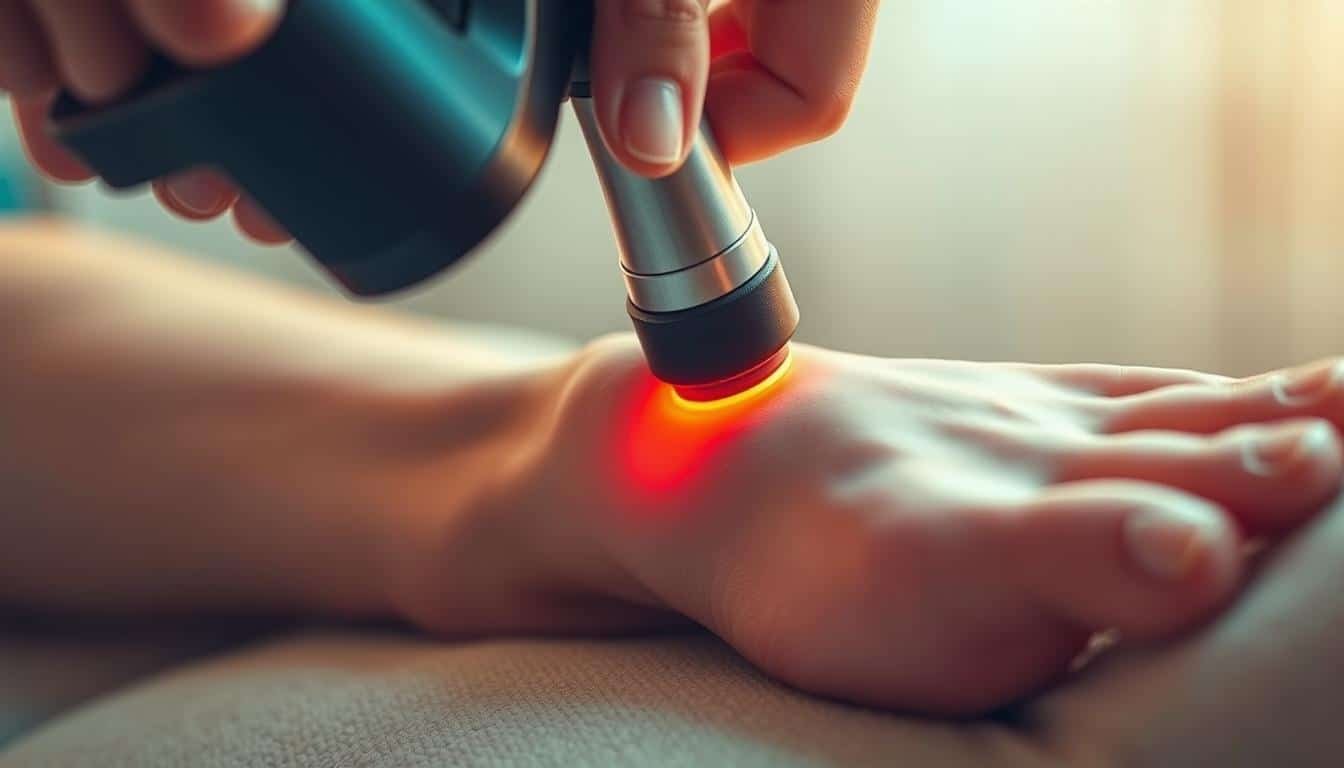
Using a Plantar Fasciitis Massage Gun for Foot Pain
Affiliate links — we may earn a commission
Did you know that over 2 million Americans seek treatment for sharp heel pain every year? This stabbing discomfort often stems from strained tissue along the foot’s arch—a problem that can disrupt daily life and limit mobility. Many don’t realize how closely connected calf tension is to this issue until they experience it firsthand.
As someone who’s dealt with persistent foot soreness, I’ve tested countless solutions. Traditional methods like stretching or ice packs help, but they often fall short for deep relief. That’s where modern tools come in—targeted muscle therapy can break the cycle of tension and inflammation more effectively.
In this guide, I’ll share techniques I’ve refined through both research and personal trial. You’ll learn how to apply these methods safely, avoid common mistakes, and even improve overall foot flexibility. The right approach turns a simple device into a powerful ally for long-term comfort.
Key Takeaways
- Heel pain often links to tight calf muscles and strained foot tissue
- Targeted therapy can reduce inflammation faster than basic stretches alone
- Proper technique prevents injury while maximizing relief
- At-home care complements clinical treatments for better results
- Consistent use may improve arch support and mobility over time
Understanding My Journey with Foot Pain and Plantar Fasciitis
Waking up felt like stepping on shards of glass. My mornings began with hobbling to the bathroom, gripping doorframes for support. Simple tasks like grocery shopping became endurance tests. The stiffness lingered for hours, and even after it eased, I dreaded the next sunrise.
My Personal Experience and Motivation
After months of ineffective foam rolling and ice baths, I discovered a surprising truth: the real culprit wasn’t just my feet. A physical therapist pointed out my rock-hard calf muscles. “Tension here,” she said, pressing below my knee, “pulls everything downward like a overtightened rope.”
“The calf-foot connection is often overlooked. Release the upper chains, and you relieve the lower strain.”
Anatomy of Key Support Structures
Two major calf muscles govern foot mechanics:
| Muscle | Location | Role | Impact |
|---|---|---|---|
| Gastrocnemius | Upper calf | Power for walking/running | Tightness strains Achilles tendon |
| Soleus | Deep calf | Stabilizes ankle | Stiffness flattens arch |
These muscles merge into the Achilles tendon, which anchors to the heel bone. Below this, a fibrous band stretches from heel to toes – your body’s natural shock absorber. When calf tension yanks upward, this band stretches beyond its limits, creating microtears.
Understanding this chain reaction changed everything. By focusing on my calves, I reduced strain on the sensitive areas. Now, I prioritize this approach – and it’s made all the difference.
How I Use My Plantar Fasciitis Massage Gun

Finding the right approach transformed my recovery routine. Through trial and error, I discovered that success hinges on two factors: choosing proper attachments and maintaining ergonomic positioning. Let me walk you through my daily process.
Selecting the Right Attachment for Your Needs
My kit contains four heads, each serving distinct purposes. The flat attachment works wonders across wider zones like the lower leg. For stubborn knots under the heel? The bullet head delivers concentrated pressure without bruising sensitive tissue. Beginners often prefer the rounded option – its gentle curve glides smoothly along arches.
Here’s my rule: match the head size to your target zone. Broad areas need sweeping coverage, while specific hot spots require precision. One physical therapist friend put it simply: “Your attachment choice determines whether you’re painting a wall or threading a needle.”
Setting Up and Positioning for Maximum Comfort
Comfort starts before you power on the device. I alternate between sitting cross-legged on the floor (with a pillow under my knees) and reclining on the couch. Elevating your leg helps access hard-to-reach spots behind the ankle. Always check your battery indicator – nothing kills momentum like mid-session charging.
Keep these essentials nearby:
- A folded towel for wrist support
- Water to stay hydrated
- Low-speed setting for initial passes
Grip matters more than you’d think. Hold the tool like a pencil, not a hammer – this prevents hand fatigue. Rotate your arm to follow natural muscle contours rather than forcing straight lines. Remember: discomfort during use means either too much pressure or the wrong angle.
Step-by-Step Techniques for Pain Relief
Effective therapy begins with smart targeting. Through trial and error, I developed a method that systematically addresses tension from calf to toes. Let’s break down the process that transformed my daily routine.
Starting with the Calf and Arch Areas
I begin mid-calf where the gastrocnemius muscle bulges. With slow circular motions, I scan for knots. When I find one, I hold the device there for 15 seconds. This melts tension before moving downward toward the ankle.
For the arch, I start near the ball of the foot. Gentle upward strokes follow the curve toward the heel. A physical therapist once advised: “Imagine smoothing wrinkled fabric – steady pressure realigns tissue.”
Targeting Specific Pain Points on the Heel and Toes
The heel responds best to indirect contact. I angle the attachment sideways, letting vibrations travel through softer tissue. For toes, I cradle them like fragile eggs – support prevents strain while the tool works.
Exploring Different Angles for a Comprehensive Massage
Rotating the device 45 degrees helps reach the Achilles tendon’s edges. When addressing the foot’s bottom, I alternate between lengthwise strokes and cross-friction patterns. Lingering on stubborn spots? I set a timer to avoid overworking sensitive areas.
This approach taught me to listen to my body’s signals. Tightness guides where to focus, while warmth indicates improving circulation. Consistency with these methods brought lasting changes I never achieved through quick fixes.
Tips and Best Practices for Effective Massage Sessions

Timing and technique make all the difference in recovery. Through months of trial, I discovered that structured sessions yield better results than random use. Let’s explore how to maximize benefits while keeping tissues safe.
Proper Duration and Frequency of Use
I follow a strict two-minute rule per foot. New users should begin with 60 seconds per side using the lowest speed. Here’s my proven schedule:
| User Type | Daily Sessions | Max Time/Foot | Ideal Attachment |
|---|---|---|---|
| First-Time | 1 | 1 minute | Foam round tip |
| Regular | 2 | 2 minutes | Flat head |
| Post-Workout | 1 | 90 seconds | Bullet head |
Gradually increase intensity over 2-3 weeks. Your muscles need time to adapt – rushing causes more harm than good.
Safety Considerations and Areas to Avoid
Never target the ankle’s inner curve. A physical therapist once warned me: “The posterior tibial nerve there feels percussion therapy like electric shocks.” Stick to meaty areas like the calf and arch.
Watch for these red flags:
- Sharp stinging (reduce pressure)
- Numbness (change positions)
- Throbbing post-session (shorten duration)
I always start with cold muscles at low speeds. Warm tissues handle deeper work better. Consistency matters, but so does flexibility – adjust based on daily needs.
Unexpected Benefits of Regular Foot and Calf Massages
What began as pain management revealed surprising rewards. Consistent therapy sessions did more than ease discomfort – they sparked positive changes I hadn’t anticipated.
Improved Circulation and Healing Support
My feet used to feel icy even in summer. After three weeks of routine care, warmth returned to my toes. Better blood flow meant faster recovery post-workouts. Swelling around the arch diminished as nutrients reached strained tissues more efficiently.
Greater Freedom of Movement
Stiffness no longer dictated my day. I noticed easier transitions from sitting to standing, and stairs became less daunting. My morning walks gained an extra half-mile without that familiar tug below the ankle. Even yoga poses requiring toe flexibility felt achievable.
This journey taught me that targeted care creates ripple effects. While relief was my initial goal, the bonus perks keep me committed. Tools like percussive therapy devices amplify these benefits when used thoughtfully – a lesson worth sharing with anyone seeking lasting comfort.
How often should I use the device for best results?
Can this tool help with tight calves caused by running?
Which attachment works best for the arch area?
Are there safety risks I should know about?
Will regular use provide benefits beyond pain relief?
How do I target stubborn heel discomfort?
Should I pair this with stretching exercises?
Is there an ideal time of day to use it?
Can it reduce inflammation long-term?
Does it help with balance or posture issues?
Nora Whitfield
Contributing writer covering The world's #1 massage chair review and ratings site for all of your luxury massage chair needs..